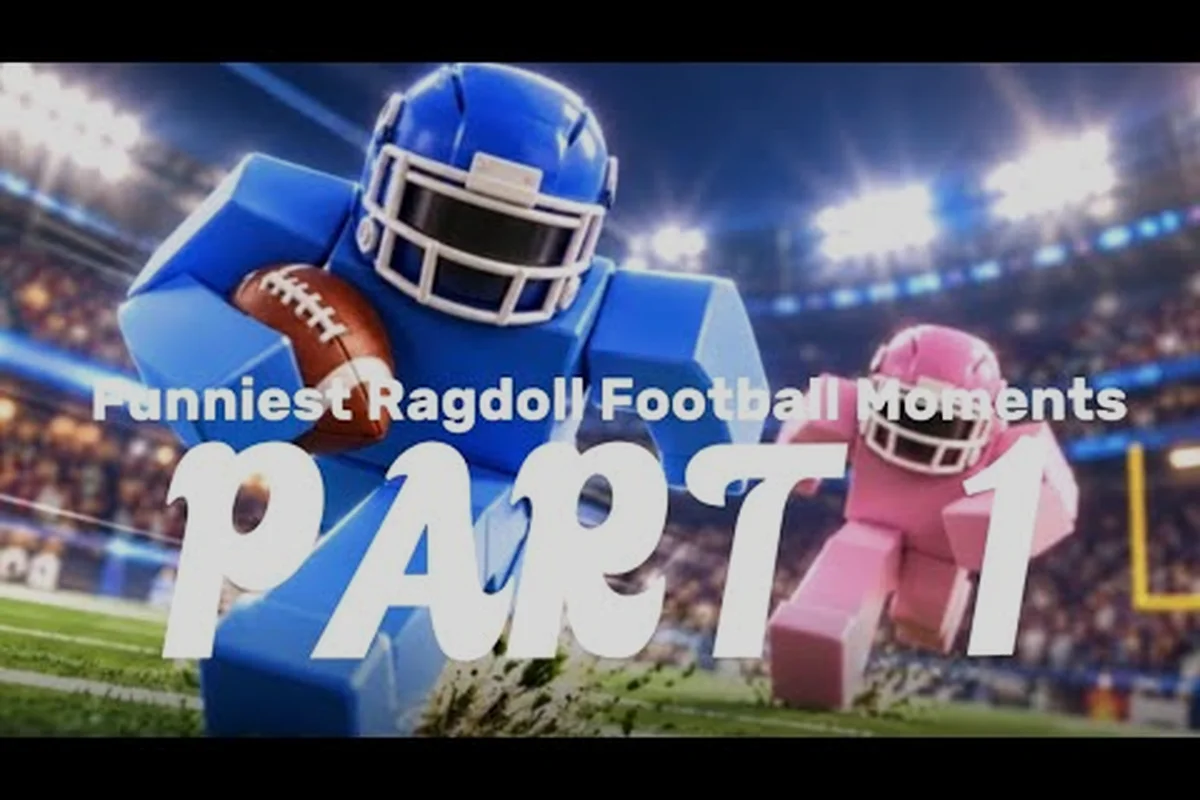
Ragdoll Football highlight plays live at the intersection of skill and slapstick, where a perfectly aimed throw meets a defender ragdolling through the air. In this Roblox football sandbox, every snap can produce a clip worth saving because the physics engine rewards timing, angle, and sheer nerve over scripted animations. Players who learn to read the chaos turn ordinary scrimmages into viral content, banking XP and bragging rights on the same play.
What Defines a Ragdoll Football Highlight Play
A highlight play in Ragdoll Football is any snap that produces a memorable visual outcome combined with a meaningful change in possession, field position, or score. Because the game has no canned animations, every collision, dive, and throw is calculated on the fly, which means the same input can produce wildly different results depending on body momentum, mass, and contact point. This unpredictability is the engine that fuels the clip economy on YouTube and TikTok, where the wildest physics moves rack up the most views.
The Three Pillars of a Clip-Worthy Moment
Every standout play rests on a foundation of timing, positioning, and exploitation of the physics sandbox. Players chasing viral moments spend most of their practice time tuning these three variables because mastering one without the others rarely produces a clean highlight. The table below breaks down how each pillar contributes to a shareable snap.
| Pillar | What It Controls | Typical Highlight Output | Practice Cost |
|---|---|---|---|
| Timing | Hit window, throw release, dive trigger | Last-second swat, goal-line stop, broken tackle | High (requires rep count) |
| Positioning | Pre-snap alignment, route spacing, defensive lane | Sideline catch, safety trap, pick-six lane | Medium (learns from film) |
| Physics Exploitation | Body mass, collision angle, momentum transfer | Headtape, ragdoll flop, helicopter spin | Low (emerges from chaos) |
The interplay between pillars is what makes a single snap rewatchable five times. A defender who times a hit perfectly but stands in the wrong lane simply punts the carrier out of bounds for a small gain, whereas a defender who picks the right angle can convert that same hit into a forced fumble and a scoop-and-score. Community clips posted by creators like Johnwitta9 consistently show that the funniest moments come from physics exploitation catching players off guard, not from clinical execution.
Why Chaos Outperforms Clinical Execution
In traditional football games, scripted animations reward repetition and punish deviation. Ragdoll Football flips that model because the physics engine produces no canned outcomes, meaning a perfectly executed play can still collapse when two bodies collide at an unexpected angle. Players who embrace the chaos learn to anticipate failure modes and plan contingencies, which is why highlight compilations tend to feature more broken tackles and ricochet throws than clean touchdown passes.
The Physics Moves That Power Viral Clips
Physics moves in Ragdoll Football are the raw interactions between body parts, momentum, and the ball. They are not bound to any input combo, which means the same body can deliver a stiff-arm, a helicopter spin, or a faceplant on three consecutive plays. Learning how each move category behaves under pressure is the fastest way to start manufacturing clips on demand.
Headtape, Helicopter, and the Classic Ragdoll Flop
The three moves players ask about most are the headtape, the helicopter spin, and the ragdoll flop. Each emerges from a different collision mechanic, and each produces a different camera reaction when clipped. The table below summarizes how they trigger and what they typically accomplish in a snap.
| Move | Trigger Condition | Visual Outcome | Best Use Case |
|---|---|---|---|
| Headtape | Defender strikes carrier's head with elevated arm | Carrier ragdolls sideways, ball pops loose | Forced fumble at the goal line |
| Helicopter Spin | Carrier collides mid-air with defender at 90° angle | Body rotates fully before hitting turf | Meme clip, sideline knockdown |
| Ragdoll Flop | Two bodies clip limbs during a tackle | Both players collapse in unnatural pose | Highlight intro, replay transition |
Players who want to weaponize these moves should practice in low-stakes scrimmages first because the same input that produces a clean headtape in solo can produce an own-team collision in a crowded end zone. The clip economy rewards repetition, and the same creator can spend hours on a single play before the physics cooperate in a frame-worthy way. If you are still learning the inputs, the hitstick tips guide covers the most reliable ways to trigger contact without whiffing.
The Physics Abuse Sweet Spot
Physics abuse refers to intentionally exploiting momentum and collision normals to produce outcomes the developer never intended. It is the heart of every popular Ragdoll Football compilation because it produces results that look impossible in a real sport. The most reliable abuse patterns include:
-
Momentum stacking: running parallel to a teammate and clipping their leg mid-stride to launch both bodies into a defender.
-
Edge-of-sideline throws: releasing the ball just before the carrier ragdolls out of bounds so the throw registers but the receiver animation glitches.
-
Goal-post collisions: aiming a dive at the upright to bounce a defender into the carrier's path.
These patterns are not bugs, but they sit at the edge of the intended design. The physics engine allows them because the same inputs power legitimate plays, and the community has learned to read the chaos as a feature rather than a flaw.
Clutch Throws and Sideline Trickery
Clutch throws are the throws that happen when the play has already broken down, the clock is running, and the only option is to flip the ball toward a teammate in a desperate spot. Ragdoll Football rewards these moments because the aim throw mechanic lets players lead a receiver with precision, and the physics engine occasionally rewards a wrong-angle release with a deflection that lands in friendly hands. Players who practice clutch throws in 1v1 scenarios tend to produce the most viral clips because the highlight reel always favors the comeback.
Anatomy of a Clutch Sideline Throw
A sideline throw is a pass aimed just inside the boundary line, designed to either (a) complete to a receiver who can tap toes in bounds or (b) intentionally go out of bounds to stop the clock. The mechanic works in Ragdoll Football because the ball respects a small grace zone near the sideline, but the receiver's ragdoll can carry them in or out unpredictably. The table below shows the three sideline scenarios that produce the best clips.
| Scenario | Aim Point | Receiver Role | Highlight Probability |
|---|---|---|---|
| Tap-Toes Catch | 1 yard inside sideline, low arc | Receiver dives toward the pylon | High (clean replay angle) |
| Intentional OB | Just past the first-down marker | Any receiver on the field | Medium (clock stops, momentum dies) |
| Deflection Pick | Toward a defender's body | Defender intercepts, ball pops up | Very High (instant possession flip) |
Players who want to convert sideline chaos into clips should run the same route tree repeatedly in a private server until the timing becomes muscle memory. The tackling and throwing breakdown explains how dive mechanics interact with the aim throw, which is essential for understanding why a receiver sometimes skids past the catch point instead of stopping cleanly.
Creative Positioning Behind the Line
Pre-snap positioning is the most underrated variable in Ragdoll Football because the game has no play-calling menu and no formation lock. Players can place the quarterback anywhere on the field before the snap, including behind the defensive line for a guaranteed sack or beside the punter for a fake. Creative positioning rewards players who think two snaps ahead because the defense cannot read the offensive intent until the ball is in motion.
| Position Setup | What It Confuses | Best Counter | Risk Level |
|---|---|---|---|
| QB Wide Left | Defender reads run, breaks lane | Quick out route to slot | Low |
| QB Under Center | Defender crashes for blitz | Play-action dive to RB | Medium |
| QB On the Hash | Defender overpursues sideline | Counter run to weak side | High |
| QB Behind the Punter | Defender ignores punter | Fake punt, lateral to upback | Very High |
The hash position is the most common setup for highlight clips because it forces defenders to commit early, and the chaos that follows produces longer animated sequences. Players who master the behind-the-punter look often pick up a free first down per game because the defense is not expecting the snap to go backward in the first place. For deeper coverage of how positioning interacts with the physics engine and game modes, the linked guide walks through several of the most reliable pre-snap looks.
Swat Moves and the Ricochet Pick Window
Swat moves are the defensive counterpart to clutch throws, and they produce their own highlight genre. A clean swat is when a defender reads the throw trajectory, times the jump, and bats the ball away without committing a flag. In Ragdoll Football there are no flags, so the swat is a free play that can either preserve a stop or, when timed correctly, send the ball ricocheting into a teammate's hands for a pick. The chaos that follows is the core of the defensive highlight reel.
Reading the Quarterback's Aim Throw
The aim throw is a charged release that lets the quarterback lock direction before the ball leaves the hand. Community testing suggests the charge window is roughly half a second, which gives defenders a brief flash to read the aim line and break on the ball. The table below summarizes the most common aim patterns and the swat counter that beats each one.
| Quarterback Aim | Visual Tell | Defender Counter | Success Rate (Community) |
|---|---|---|---|
| Sideline Out | QB body turns parallel to sideline | Jump the route, two-handed swat | High |
| Deep Post | QB drops back, ball held high | Read the safety, undercut the route | Medium |
| Screen Pass | QB eyes the backfield | Hold the edge, swat at the release | Very High |
| Desperation Heave | QB body squares, ball low | Read the landing zone, swat late | Medium |
The desperation heave is the most clip-worthy because the ball hangs in the air long enough for the defender to set up the swat, and the ragdoll flops that follow the catch attempt produce the kind of frame that ends up on the highlight reel compilation. Players who want to farm defensive highlights should play safety in a public match because the position naturally creates the most swat opportunities.
Turning a Swat Into a Touchdown
The cleanest defensive highlight is the pick-six, which requires a defender to catch the deflected ball and return it for a score. Ragdoll Football's physics engine makes this harder than it sounds because the ball can bounce unpredictably after a swat, and the defender's own momentum often carries them past the catch point. Players who practice the tip drill in private matches tend to convert the most pick-sixes because they learn to read the ball off the defender's hands rather than trying to catch it mid-spin.
| Tip Drill Stage | Focus | Common Mistake | Drill Reps Needed |
|---|---|---|---|
| Read | Watch the ball off the QB hand | Jumping too early | 20+ |
| Position | Get under the ball, hands ready | Standing flat-footed | 30+ |
| Catch | Tuck the ball before turning | Reaching with one hand | 40+ |
| Return | Find the lane, outrun the offense | Cutting into traffic | 25+ |
The four-stage drill is the fastest way to convert a defensive stop into a viral clip because each stage produces a different visual outcome when failed. The return stage, in particular, is where the most absurd highlights are born because the ball carrier can suddenly become the ball fumbler when two bodies collide at the goal line.
Building a Consistent Highlight Reel
Clips do not happen by accident, even in a physics sandbox. Players who produce the most consistent highlight reels follow a routine that combines deliberate practice, server selection, and clip-ready setup. The goal is to maximize the number of chaotic snaps per session so that the physics engine has more opportunities to deliver a frame-worthy moment.
Server and Match Selection
The server you queue into has a major impact on highlight potential because player count, ping, and skill level all affect how often the physics produce outliers. Lower-population servers tend to produce cleaner highlights because every snap has fewer bodies involved, but they also produce fewer big plays. Higher-population servers produce more chaos, which is good for funny moments but harder to control for execution. The table below summarizes the tradeoffs.
| Server Type | Player Count | Highlight Style | Clip Volume |
|---|---|---|---|
| Private Solo | 1-4 | Practice mechanics, no chaos | Low |
| Small Public | 5-7 | Clean execution + occasional chaos | Medium |
| Mid Public | 8-10 | Balanced chaos and structure | High |
| Large Public | 11-14 | Maximum chaos, meme-heavy | Very High |
Players who want to maximize their clip rate should queue into mid-population servers because the chaos is high enough to produce viral moments but low enough that the physics do not collapse into pure noise. The servers explained guide covers how server selection interacts with match size and game modes, which is useful for players who want to specialize in a particular highlight style.
Clip-Ready Setup and Recording Workflow
Capturing a clean clip requires the recording software to be running before the snap, the system clock synced for replay, and the camera angle set to follow the ball carrier. The table below lists the minimum equipment and settings for a usable recording setup.
| Component | Minimum Spec | Recommended Spec | Why It Matters |
|---|---|---|---|
| Recorder | Built-in screen capture | OBS with NVENC | Frame-accurate replay |
| Storage | 50 GB free | 200 GB+ SSD | 4K clips eat space |
| Mic | None | USB condenser | Optional commentary |
| Overlay | None | Clip timestamp, name | Easier editing later |
A 30-second clip in 1080p can be anywhere from 50 MB to 300 MB depending on the codec, so players who record every snap should plan for at least 2 GB of storage per session. The extra overhead is worth it because the alternative is missing the one-in-a-hundred snap that produces the highlight, and the physics engine does not repeat outcomes on demand.
Frequently Asked Questions
What is the best way to score Ragdoll Football highlight plays consistently?
The most reliable approach is to play safety in mid-population public servers and focus on swat reads, because that position produces the highest density of frame-worthy defensive moments. Combine the swat with a tip-drill return and you have a clip ready to upload in under a minute of in-game time.
How do Ragdoll Football physics moves differ from real football tackles?
Real football tackles follow a fixed animation tree defined by the player's stance and the contact point, whereas Ragdoll Football physics moves are calculated from the actual mass, velocity, and collision normals of both bodies. The same hit can produce a clean wrap-up, a helicopter spin, or a full ragdoll flop depending on angles the player never intended.
Can I practice Ragdoll Football clutch throws without queuing public matches?
Yes, private servers support the same aim throw and sideline routes as public matches, so you can run 1v1 or 2v2 drills on your own. The chaos will be lower, but the muscle memory for the release point and arc transfers directly into public play, which is where the highlights actually happen.
Why do some Ragdoll Football chaos plays produce fumbles and others do not?
Fumbles depend on the contact point, the ball carrier's momentum, and whether a second defender arrives at the same moment to compound the hit. A clean shoulder tackle rarely jars the ball loose, but a headtape or a mid-air collision at the right angle almost always does, which is why community clips lean so heavily on those two moves.
Are Ragdoll Football swat moves punishable in any way?
No, there are no penalty flags in the current build, so defenders can swat aggressively without fear of giving up yardage. The only cost is a missed tackle when the swat timing is off, so practice the read stage of the tip drill before trying to convert swats into turnovers.